RIBS, RIBS AND MORE RIBS!
September 20, 2014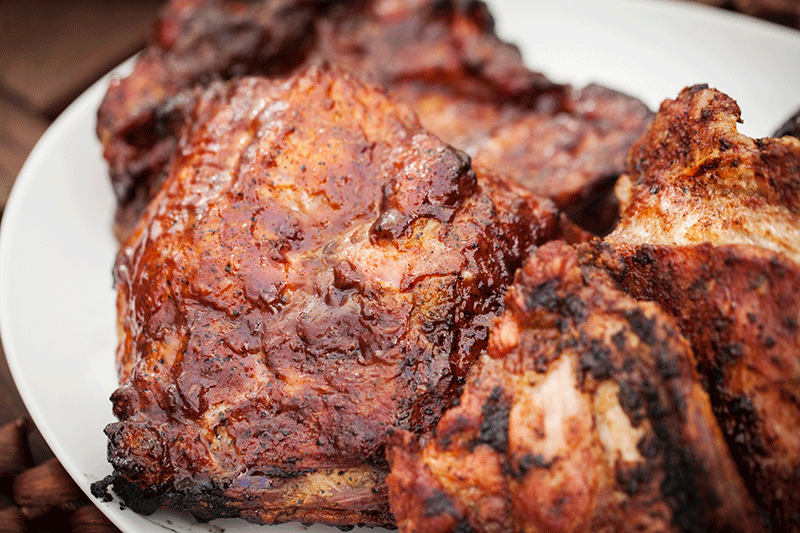
Ribs can be a very tricky thing to do on the barbie but the fact of the matter is that when you know the right technique, ribs are simple to cook and absolutely delicious. The trick with ribs is not to rush them but rather to cook them over low heat for a long period of time. Because ribs are a tougher cut of meat, they need to be falling off the bone for them to be really, really good. No matter how well seasoned or “sauced”, if they aren’t falling off the bone they just aren’t as delicious.
I usually bring a large pot of ribs to a roaring boil, reduce the heat and then simmer them for about an hour before chilling them, seasoning them and barbecuing them until golden and crispy. That being said, boiling them prior to grilling them not only ensures that they will be falling off the bone at the table but also reduces the cooking time on the grill. Boiling also reduces the fat content of the ribs leaving you with much more lean rib meat that is no less juicy than those that are done on the grill from start to finish.

In this post we will look at cooking ribs from start to finish using the barbie with a classic BBQ sauce, a sweet and spicy Asian glaze and a pork rub. All three of these condiments/seasonings can be purchased from your local grocer and I’m going to show you how to apply them and cook the ribs correctly.
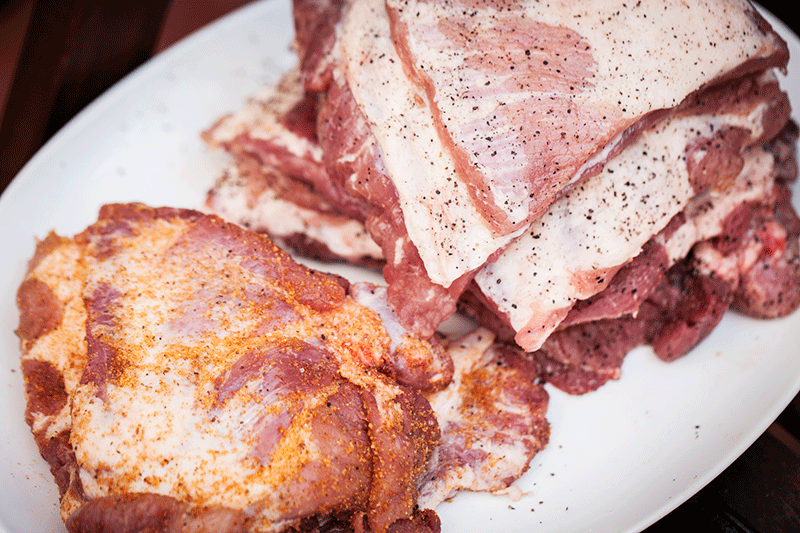
You’ll want to preheat your grill to high because a good sear at the beginning is how to lock in the natural juices so they don’t dry out while they cook. If cooking all the ribs in the same way, follow my directions in the captions. If you’d like to try all three techniques, separate your ribs into three equal portions and continue with the directions for all of them. Begin by rubbing some of the ribs with the pork rub (on the left in the image). The ribs that will be getting the sauce and the glaze only require a good salting and peppering at the moment. Keep them refrigerated until the grill comes to temperature, about 300C to 315C. Note: when using a rub or salt be sure not to apply it too far ahead of time as salt leaches the natural juices out of the meat. This will leave you with a much less juicy finished product.
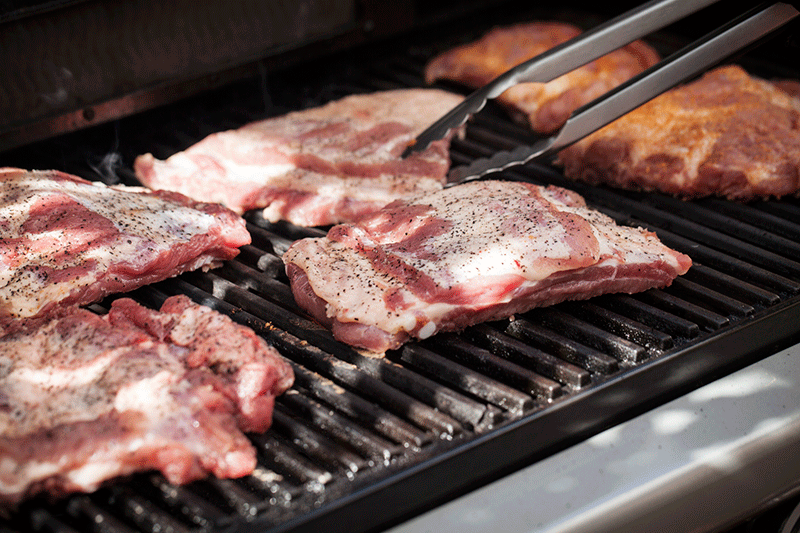
Place all your ribs on the hot grill using your tongs and allow them to sear well before turning them. Click on the image for the BBQXL 4 piece toolset.
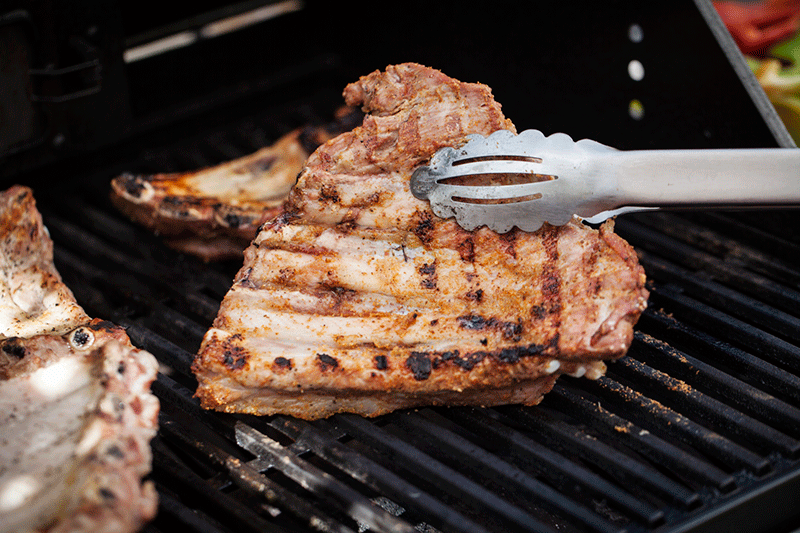
When the ribs have a good sear and light lines on one side, it’s time to flip them. Sear them in the same manner on the second side and then lower the barbecue to its lowest heat setting.
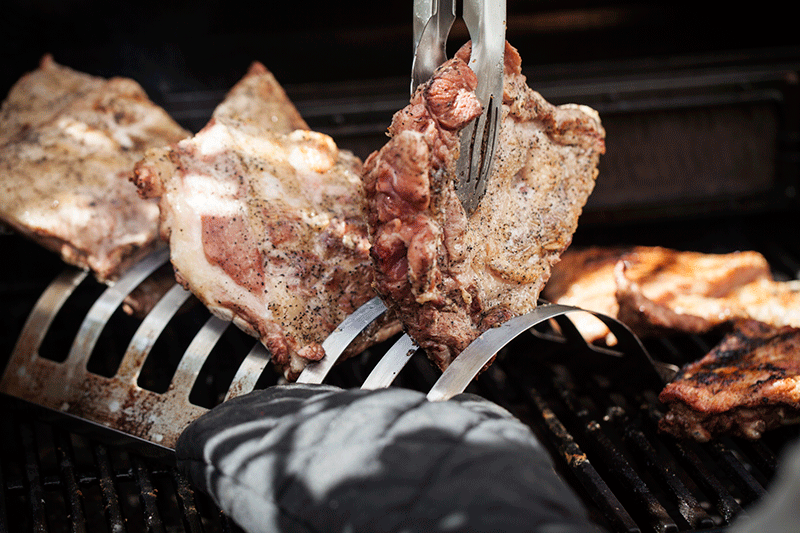
Once the ribs are fully seared on both sides, place your rib rack on the grill and while holding it in place with a gloved-hand, insert the ribs that are going to be “sauced” or glazed leaving the rubbed ribs directly on the grill away from direct heat. Allow them all to cook over low, indirect heat for an hour to an hour and a half, depending on the thickness of the ribs. Click on the image for more info about the BBQXL Multi use roaster, kebab and rib rack.
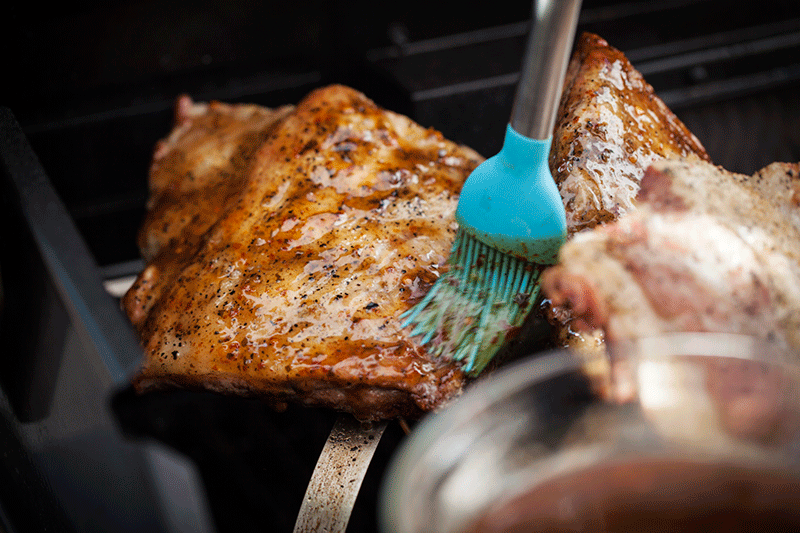
Once the ribs have cooked for an hour to an hour and a half, beginning at the back, start by brushing the ribs with the glaze. If you don’t already have a basting brush, click on the image!
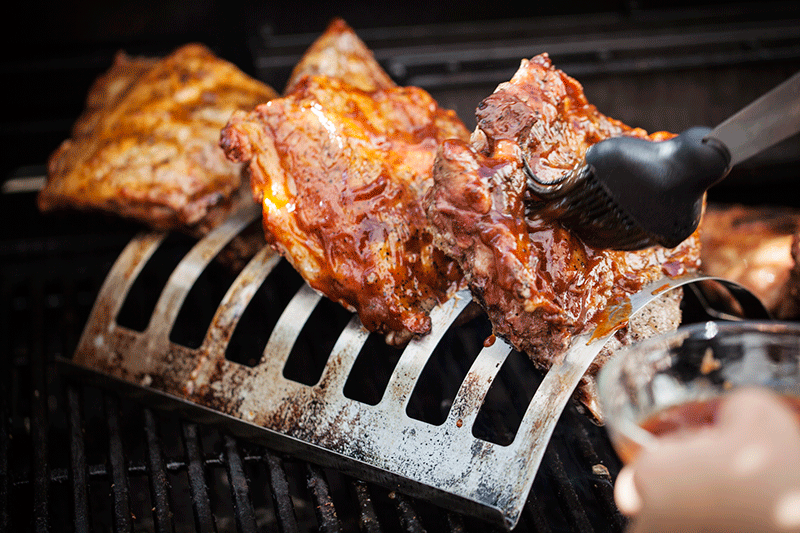
Continuing in the same manner, baste the ribs in the front portion of the rack with your favourite smokey BBQ sauce.
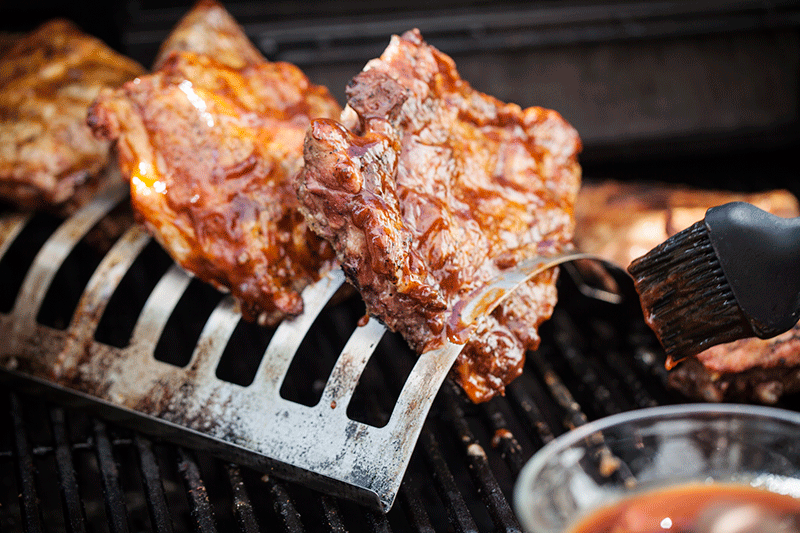
Once the ribs are fully basted, front and back with the sauce, it’s time to close the hood of the grill and to cook them for a further 30 to 45 minutes. You can baste them a second time, half-way though the cooking time. You’ll know when they’re done when they tear away from the bone easily.
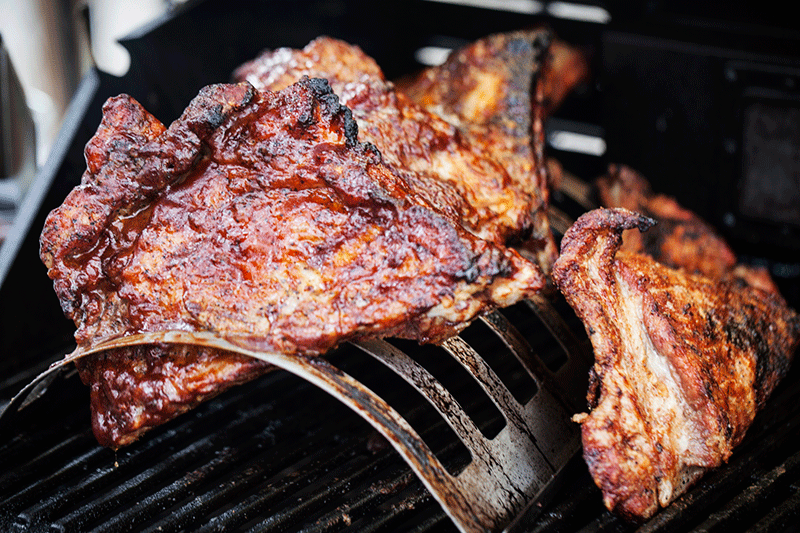
After basting the ribs for the first time, lean the rubbed ribs on the rack to allow them to continue cooking in the same temperature zone as the ones in the rack. The reason that I have used the rib rack here is that sauces and glazes are high in sugar content. Using a rack ensures that the sauce and glaze stay on the ribs as opposed to losing half of it to the grill. It’s also very important to note that because of the high sugar content, they can burn if exposed to high heat for too long, such as during the searing process at the beginning. This is why I apply a sauce or glaze closer to the end of the cooking time which allows them to concentrate in flavour and become deliciously sticky.
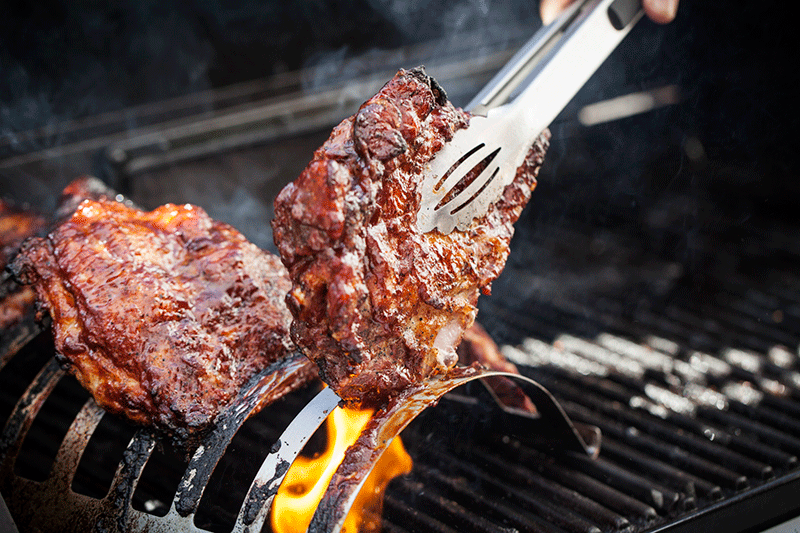
When the ribs are done, using tongs, simply pull them out of the rib rack!
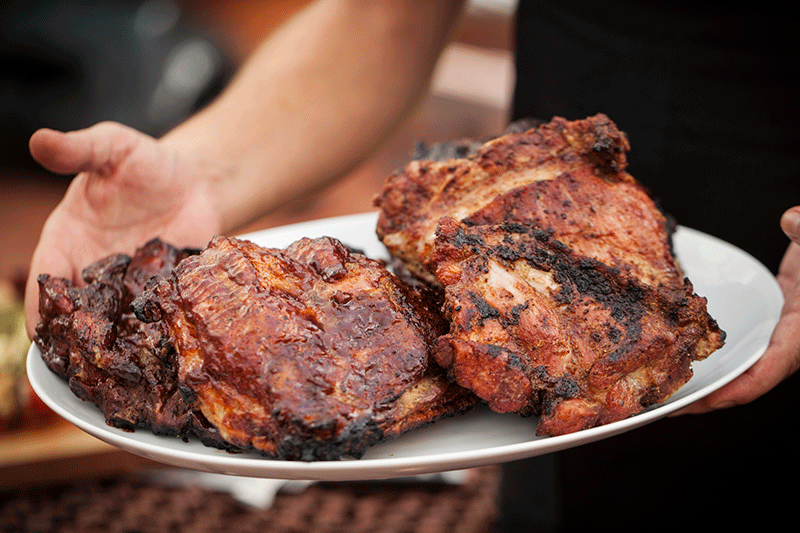
To the left are the ribs that are “sauced” and glazed and to the right are the rubbed ribs. You’ll notice that the rubbed ribs appear dryer than the others however, I guarantee you that they are just as juicy as the others. Because ribs are so versatile and everyone has different tastes, I prefer to make a variety as I’ve done here. They can be cut into smaller pieces at the table and your guests can chose which one’s they fancy!
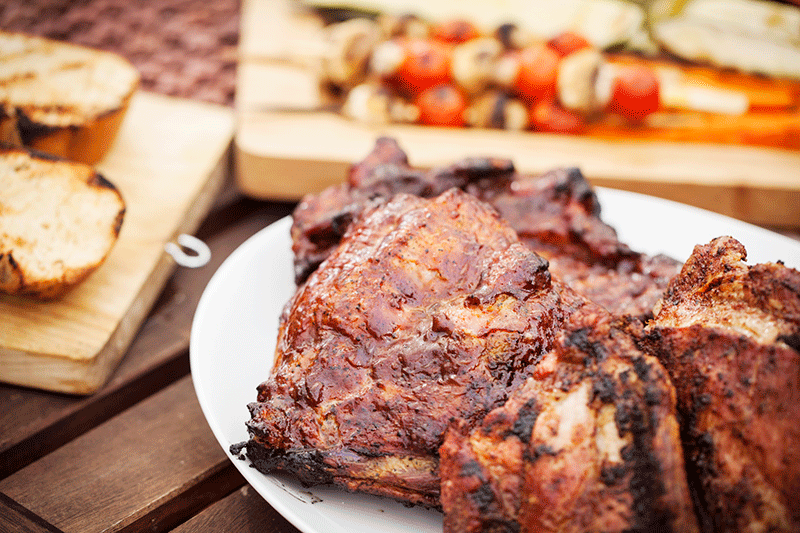
Simply delicious! Enjoy them with a variety of grilled vegetables and grilled crusty bread!
