PERFECT AND JUICY CHICKEN DONE RIGHT; ON THE GRILL!
October 18, 2014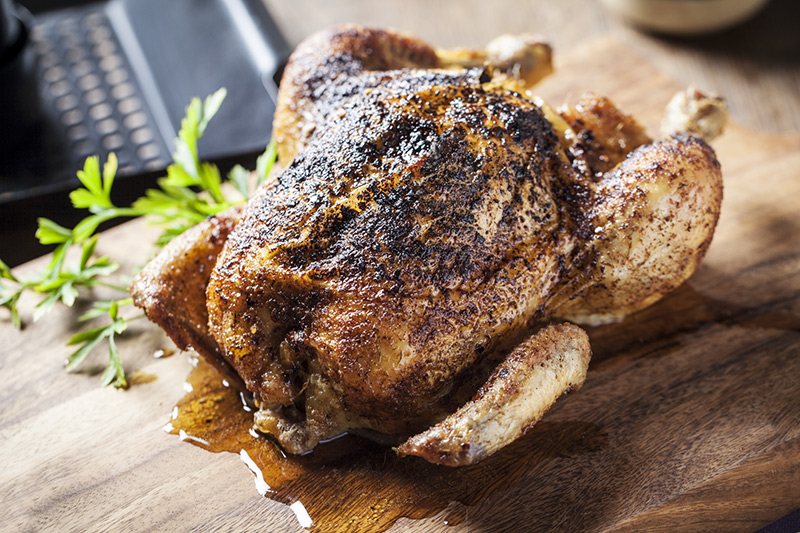
Have you ever tried cooking an entire chicken on the barbie with little to no success? If you answered “yes” to that question, it isn’t very surprising! Especially if you didn’t use a chicken roaster. Skin-on chicken cut in pieces is hard enough to cook on the grill without the flare-ups and the sticking and a whole chicken is even more daunting if you don’t know exactly what you’re doing. That’s where this blog entry comes into play as “where there’s a will there’s a way” and I’m going to show you the way!
I get lot’s of questions from family and friends as to why my chicken is so juicy and why it doesn’t look all scathed once I remove it from the grill. There really isn’t any secret, and truth be told, if they’d take a greater interest in what the chef was doing at the barbie they’d know, as it is in full sight during the whole process! The simple trick is a chicken roaster (also known as a beer can roaster) and the steps toward a delicious and juicy chicken are easy as pie!
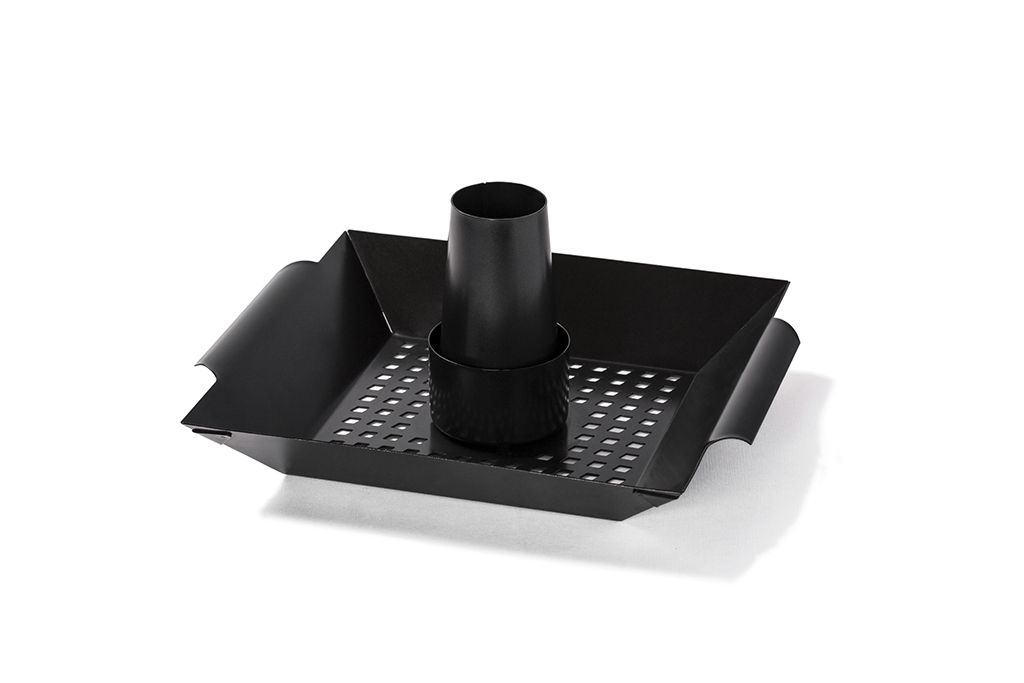
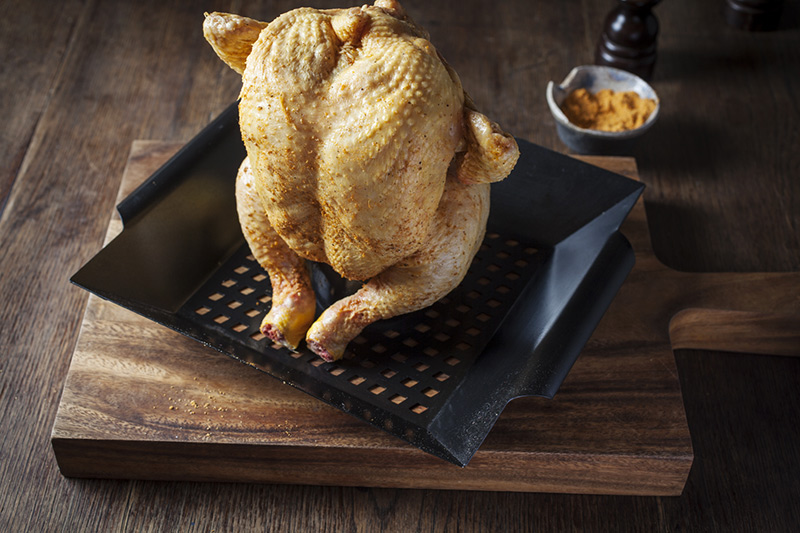
This is the amazing little gizmo that’s going to bring you to the point where your friends and family are going to be asking you just what you did to grill such a perfect bird! Click on the image for more info about the BBQXL chicken roaster. It’s simple to use and you’ll even surprise yourself the first time you use it as the chicken comes out perfectly cooked, crispy on the outside and unbelievably juicy (as you’ll see below)!
To begin, you can barbecue any type of whole bird you like using a chicken roaster. Duck, turkey or even a Christmas goose should the urge strike, but let’s begin easily, with a chicken. Chicken roasters are developed to hold any size of chicken you purchase, from very small to very large. I do however suggest a digital thermometer, so that you know the exact minute the bird can be removed from the barbie and be allowed to rest which gives the meat enough time to redistribute the juices. So now you have a clear idea, the internal temperature of chicken that has been cooked for safe consumption is 82C. Make sure that you take the reading with your thermometer from the thickest part of the meat!
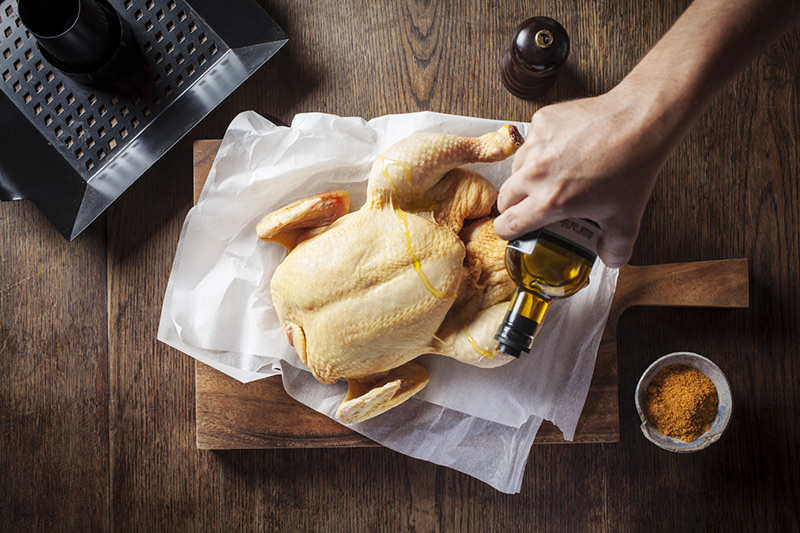
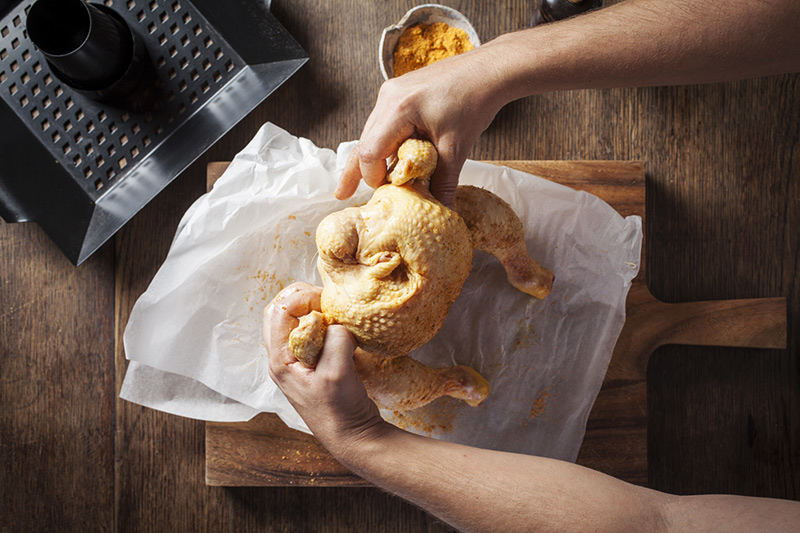
After having thoroughly washed and dried the chicken, begin by drizzling it with extra virgin olive oil.
Massage the oil into every nook and cranny you can find. Behind the wings and thighs, for example. Fowl in general is very greasy however, because of the way in which we are cooking it, upright in the roaster that is, it will not lay in it’s own juices and basting it with it’s own juices is impossible! So it’s important that the bird is well oiled to help keep some moisture in and, of course, to help the seasonings adhere properly.
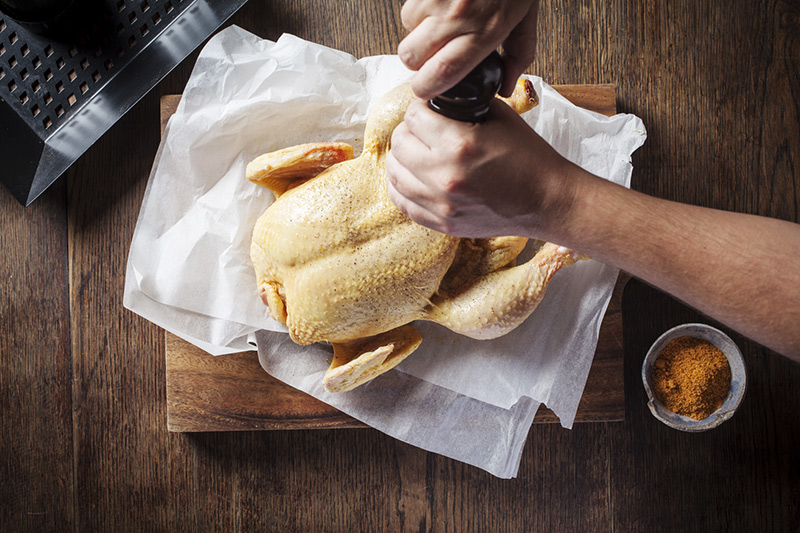
This step is not necessary however, I’m a HUGE fan of black pepper, especially on chicken, can’t get enough of it in fact. So if you’re like me give the chicken a generous grinding of fresh black pepper all over!
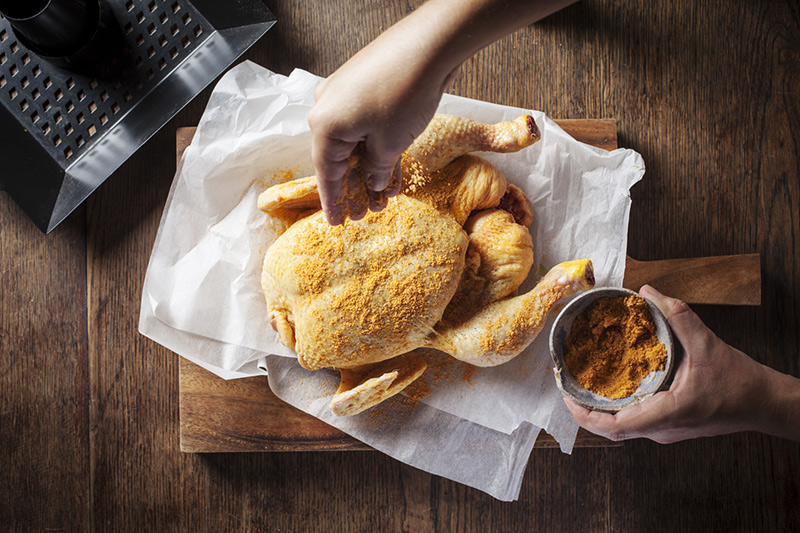
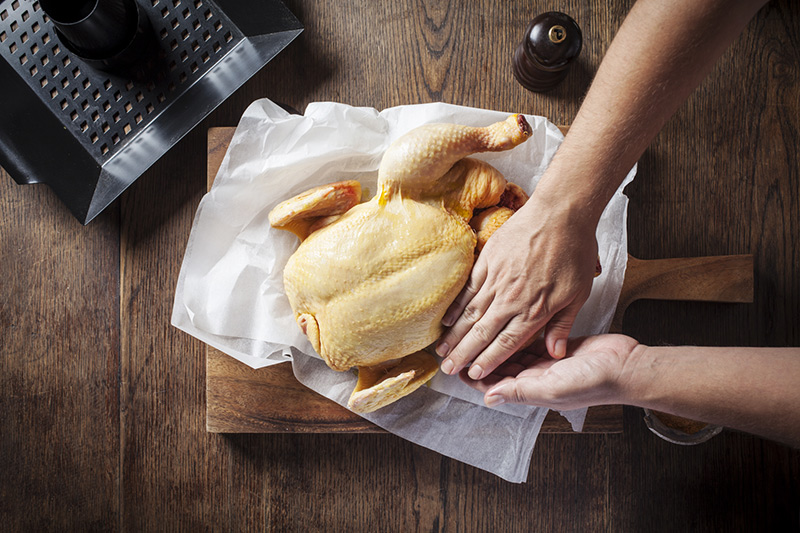
Now it’s time for the seasoning. This is strictly up to you and your taste. Sprinkle a generous amount all over the bird. You can use a mix of paprika, thyme and rosemary with a generous helping of salt, all of which have been pulverised in a spice grinder, for example.
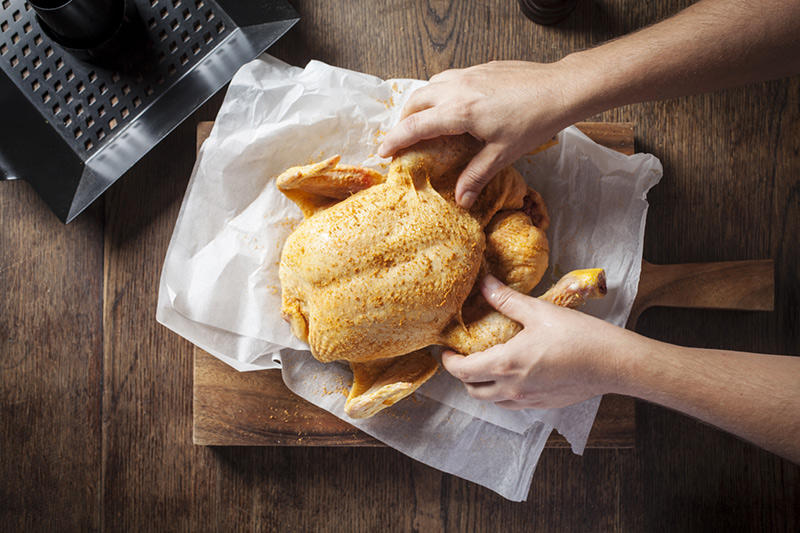
Now, having sprinkled the seasoning all over the chicken, it’s time to rub it in! This is of course where the term “rub” came from. Check out our post on “sauces vs. marinades vs. rubs” if you haven’t seen it!
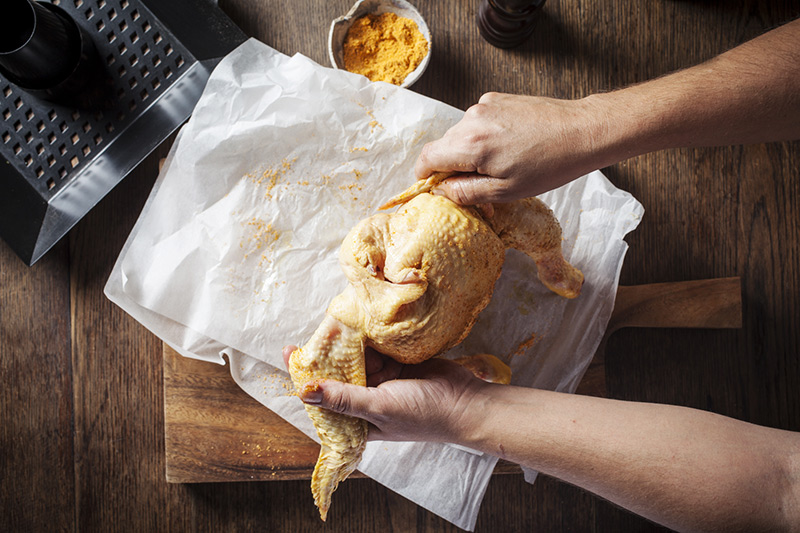
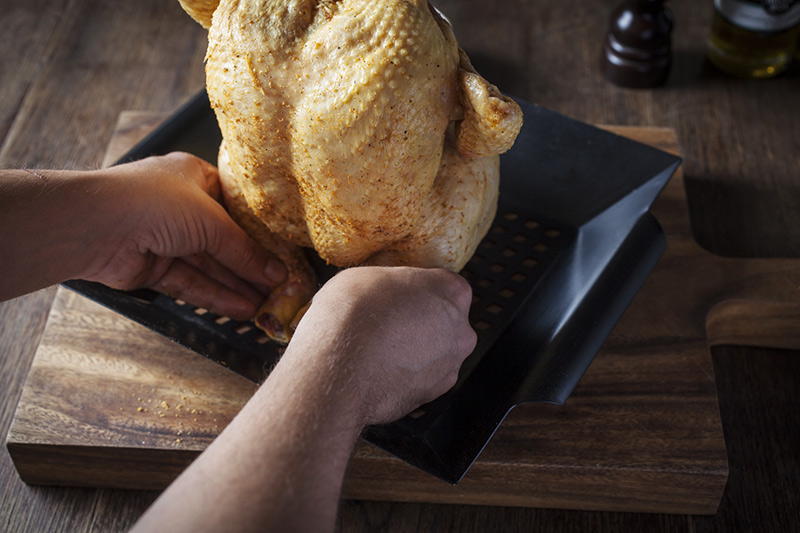
Wings can be a problem if you leave them hanging out while they’re on the grill. They will burn!
The solution to the wing dilemma is easy however! Simply fold the wings behind the back and they will cook evenly along with the rest of the bird.
The BBQXL chicken roaster displayed here is great because, not only can you replace the chimney with a can of beer (filled only to a third, that’s important!), but you can also fill the cup at the bottom with your favourite wine or fruit juice that will flavour the meat as it cooks. In addition, you can add your favourite herbs, spices, onion or garlic to the liquid of your choice for a further flavour explosion!
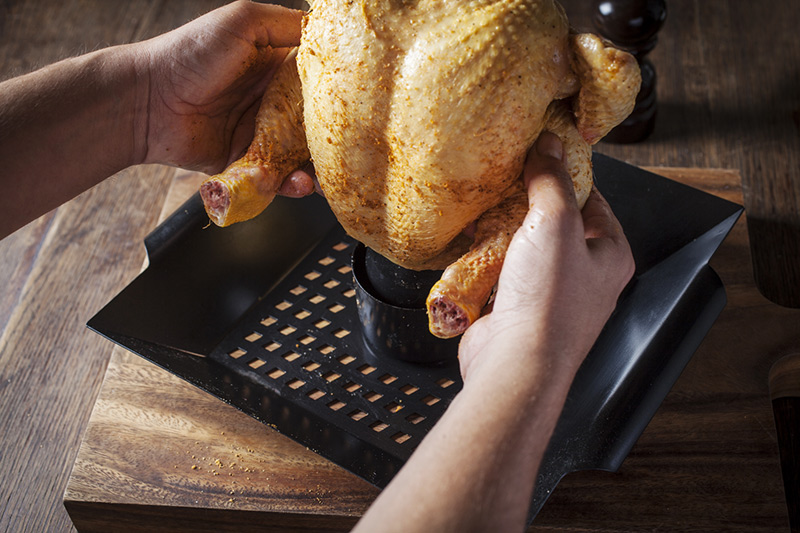
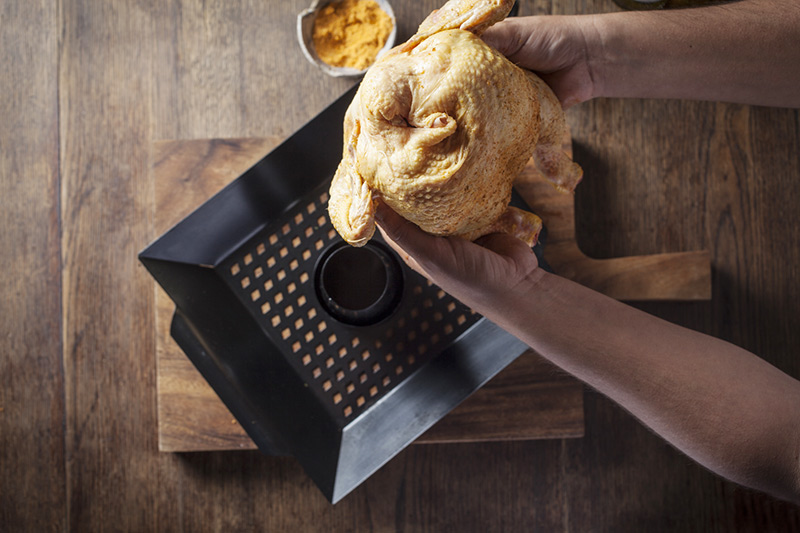
Once you’ve decided on a can of beer (open with only a third left in the can!) or wine or juice, simply slide the chicken over the chimney (or can).
Arrange the legs toward the front of the bird and they will stay without the need for kitchen twine.
At this stage the chicken is ready to be put on the grill. Have your BBQ preheated to medium high heat, about 180C and prepare to cook your chicken using indirect heat. I’ll show you how below.

Using indirect heat on a barbecue is easy. It simply means that the heat source isn’t directly under what you are cooking. No matter what size grill you may have, or whether you’re using gas or charcoal, this can be done easily. The objective is to ensure that the heat is coming from the sides. If you’re using a 4 burner gas barbie as I’m using here, you’ll want the two burners at either extremity to be burning.
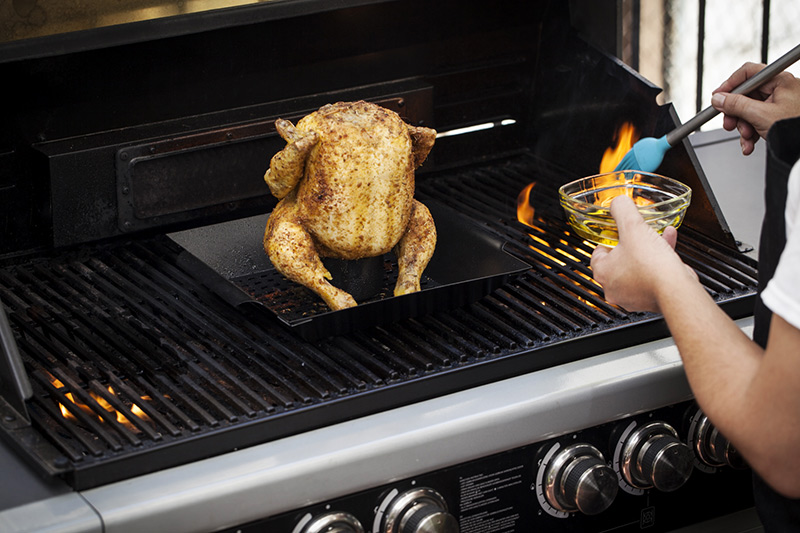
In this and the prior image, I’m demonstrating where the heat should be coming from. It should be away from the bird and there should be no direct contact with the flames. Flare-ups are impossible using this method and having to rotate the bird on a 4 burner grill won’t be necessary however, I suggest you do so to ensure an even crispness all round. If you are using a smaller gas grill or a charcoal grill, make sure that the heat is off to one side and that you rotate the bird frequently in order to ensure even cooking. Once the chicken reaches the halfway point (41C internally), you can add vegetables to the bottom of the roaster that will cook up deliciously while the bird cooks through!
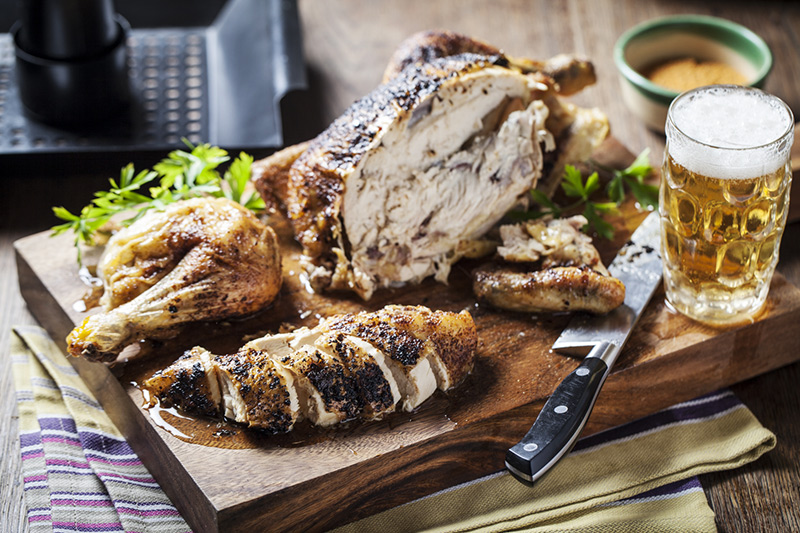
And voilà! As I promised, an exceptionally crispy outside with an unbelievably juicy inside! Tried, tested and beloved by all!
Enjoy and happy grilling!